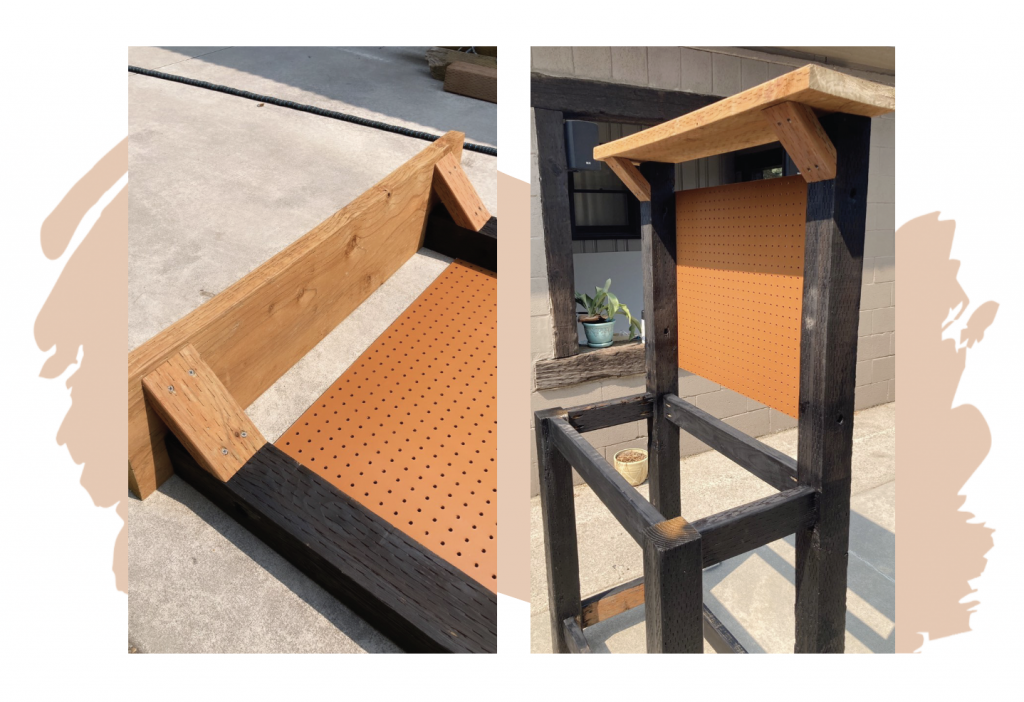

potting bench made out of scrap wood recycled materials

potting bench made out of scrap wood recycled materials

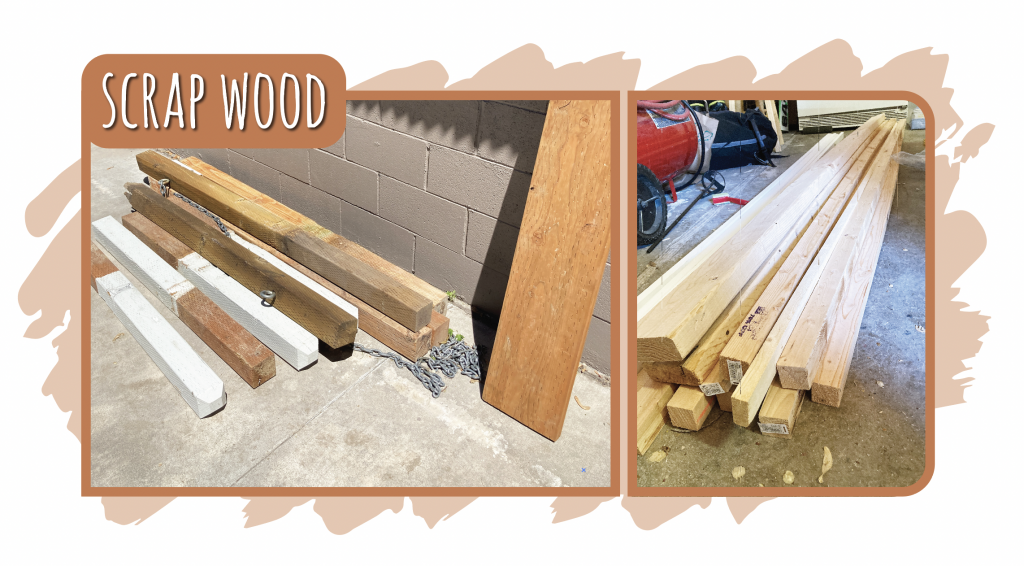
potting bench made from scrap wood

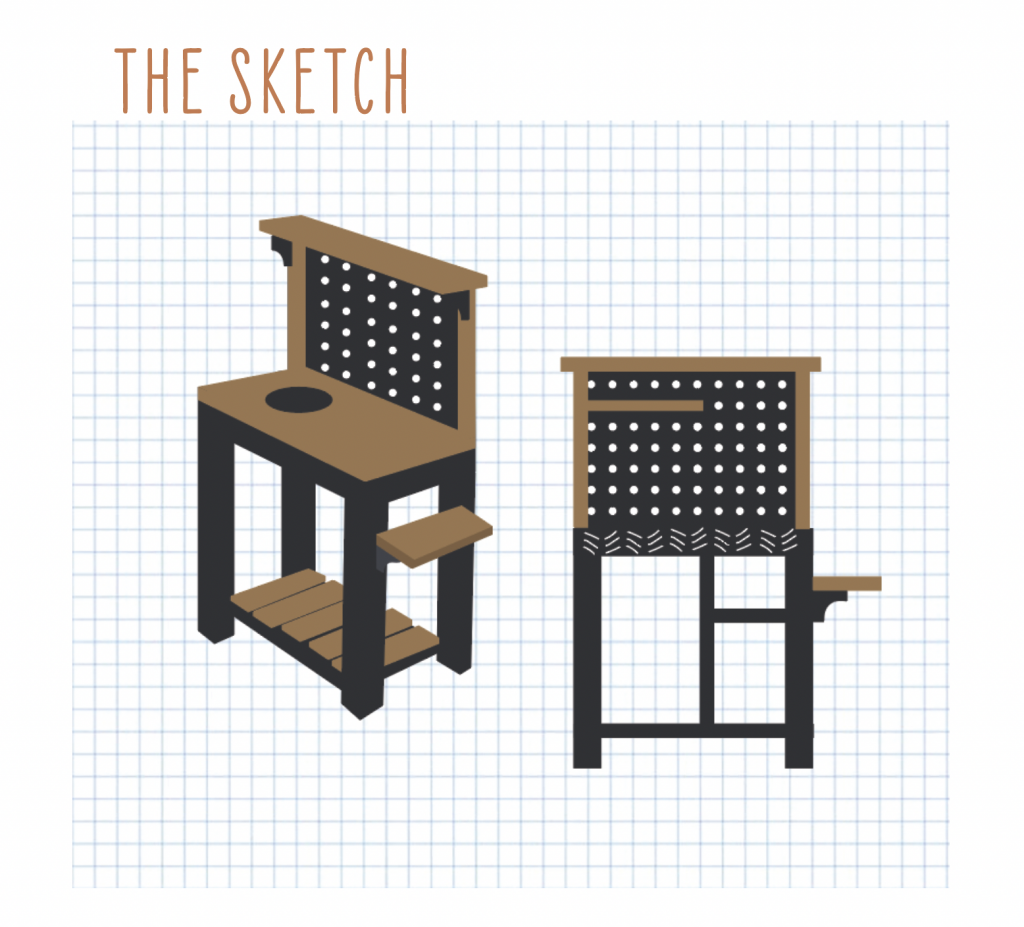
DIY potting bench


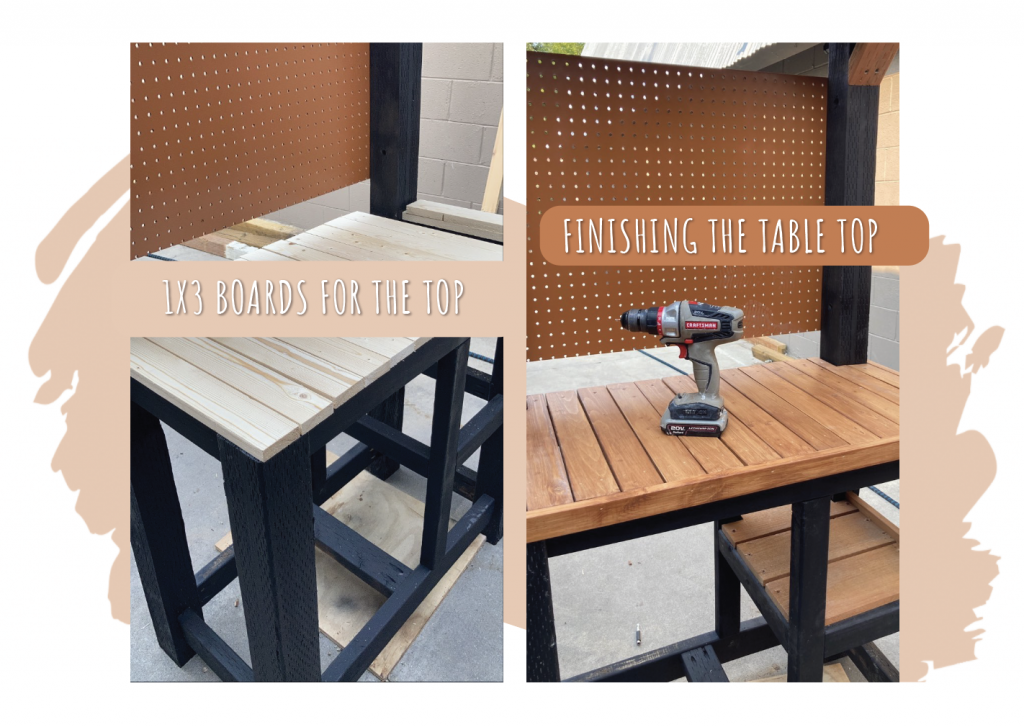
potting bench made out of scrap wood recycled materials
potting bench made out of scrap wood recycled materials
potting bench made from scrap wood
DIY potting bench